
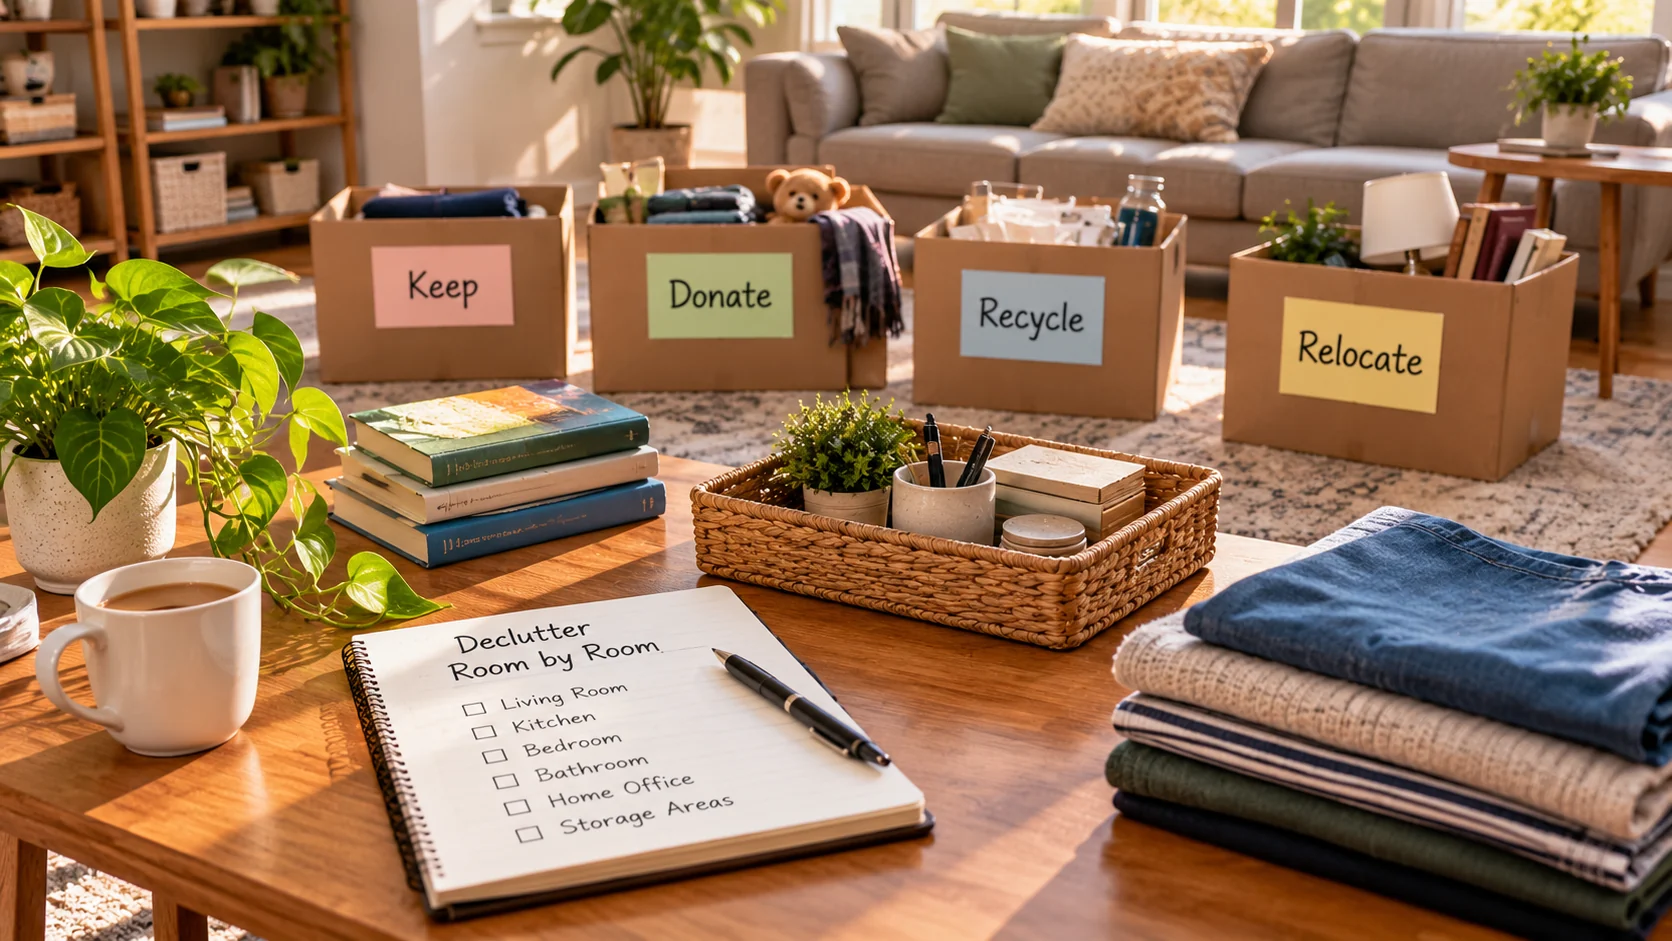
Decluttering a whole home sounds like one enormous job, which is exactly why it is easy to postpone. A more workable approach is to treat the home as a series of small spaces. Finish one area, remove what you have decided not to keep, then move to the next.
This approach is less about creating a picture-perfect home and more about making decisions in manageable batches. Utah State University Extension recommends starting small rather than trying to tackle everything at once, while its organizing guidance suggests sorting items, removing excess, assigning homes to what remains and maintaining the system over time.
Choose one room or one clearly defined zone, decide what “done” means, and give yourself a stopping point. Progress is easier to see when the project has a small finish line.
1. Make a simple room-by-room map
Before pulling everything out, write down the spaces you want to work through. A typical home might include the entryway, living room, kitchen, bedrooms, bathrooms, home office, laundry area and storage spaces. Your list can be shorter or longer depending on the home.
Do not treat the list as a deadline. It is simply a way to make the project visible and prevent the biggest room from consuming all your attention.

2. Pick one small starting area
Start with a contained area such as one drawer, one shelf, one side of a wardrobe or one section of a room. Utah State University Extension specifically recommends working on small areas because a large, undefined project can become overwhelming.
Set a realistic session length. You can stop when the area is complete even if the rest of the room still needs attention.
3. Sort before you organize
Use a small number of decisions that make sense for your home. For example, items might go into keep, donate, discard or relocate. The point is to decide what happens to each item rather than moving clutter from one surface to another.
Utah State University Extension also cautions against jumping straight into buying storage. Reducing the number of things first can make the organizing stage simpler and may show you that additional containers are unnecessary.
4. Living room: clear the surfaces and shared storage
Start with coffee tables, side tables, shelves and visible baskets. Remove items that belong in other rooms and deal with them rather than creating a “move later” pile. Then look at books, games, cables, decorations and duplicate items.
Finish by giving the items you are keeping a defined place. The goal is not an empty room; it is a room where the things you regularly use are easier to put away.
5. Kitchen: work by category
Kitchens become easier to declutter when you work through categories rather than emptying every cabinet at once. Try one category or zone at a time: mugs, food-storage containers, utensils, cookware, pantry shelves or cleaning supplies.
Check duplicates and items you never reach for. Keep frequently used items where they are convenient, and avoid creating a second storage area simply because the first one is full.
6. Bedroom: make clothing decisions practical
For clothing, start with one drawer, shelf or hanging section. Pull together items that serve the same purpose so duplicates are easier to see. Consider whether an item fits your current routine, is comfortable and is actually being used.
Do not turn decluttering into a shopping project. The immediate objective is to reduce decision fatigue and make the remaining wardrobe easier to access.
7. Bathroom: check small duplicates
Bathrooms often contain several partially used products, duplicate toiletries and items that were kept “just in case.” Work one cabinet or drawer at a time. Group similar products and remove items that are empty, unusable or no longer appropriate for your household.
Keep medicines, cleaning products and other potentially hazardous items stored according to the safety instructions that apply to your household. Decluttering should not mean moving safety-critical items into an easier-to-reach but less secure location.
8. Home office: reduce paper and digital clutter together
Sort papers into a few useful groups, such as action, reference and archive, according to your own recordkeeping needs. Avoid throwing away documents simply because they look old if they may be important for taxes, property, employment, insurance or other obligations.
Then look at digital clutter: downloads, duplicate files and old screenshots. A short digital cleanup can complement the physical workspace without becoming a separate month-long project.

9. Storage areas: do not use storage to hide decisions
Closets, cupboards, attics and other storage areas can become the place where undecided items accumulate. Give these areas the same treatment as visible rooms: sort, remove excess, then organize what remains.
For valuable or important possessions, consider documenting what you own before discarding related records or proof of purchase. Utah State University Extension notes that a room-by-room inventory can be broken into manageable steps rather than completed all at once.
10. Finish each session completely
A decluttering session is not finished when the items are sorted. Take the donation items to their designated holding place, discard items through the appropriate local route, return relocated items and put the keep items away.
This final step prevents the project from producing a new set of bags and boxes that simply become tomorrow’s clutter.
11. Create a small maintenance habit
Once a room is under control, make the result easier to maintain. A short reset at the end of the day or a weekly review can catch small piles before they become another large project. Utah State University Extension describes small, repeatable tidying habits as one way to keep clutter manageable.
- Choose one small area for each session.
- Sort before buying organizers.
- Give kept items a specific home.
- Remove donations and discard items promptly.
- Keep important records separate from ordinary clutter.
- Review high-clutter areas periodically instead of waiting for a major cleanup.
A simple room-by-room decluttering sequence
- Map: list the rooms and storage zones you want to review.
- Choose: start with one small, clearly defined area.
- Sort: decide what stays, leaves, moves or needs another action.
- Reduce: remove duplicates and items that no longer serve a useful purpose.
- Organize: give the remaining items practical homes.
- Clear: finish the donation, discard and relocation steps.
- Maintain: use short resets so the next decluttering project stays small.
The Decluttering Checklist turns this approach into a practical list you can work through room by room.
If you are moving rather than simply reducing clutter, the Moving House Checklist can keep move-specific tasks separate. The Home Cleaning Checklist and Home Maintenance Checklist cover different jobs that become easier to manage once the home is less crowded.
For general organizing and home-safety context, see Utah State University Extension and the EPA room-by-room healthy-home checklist. Safety and disposal requirements can vary by item and location.